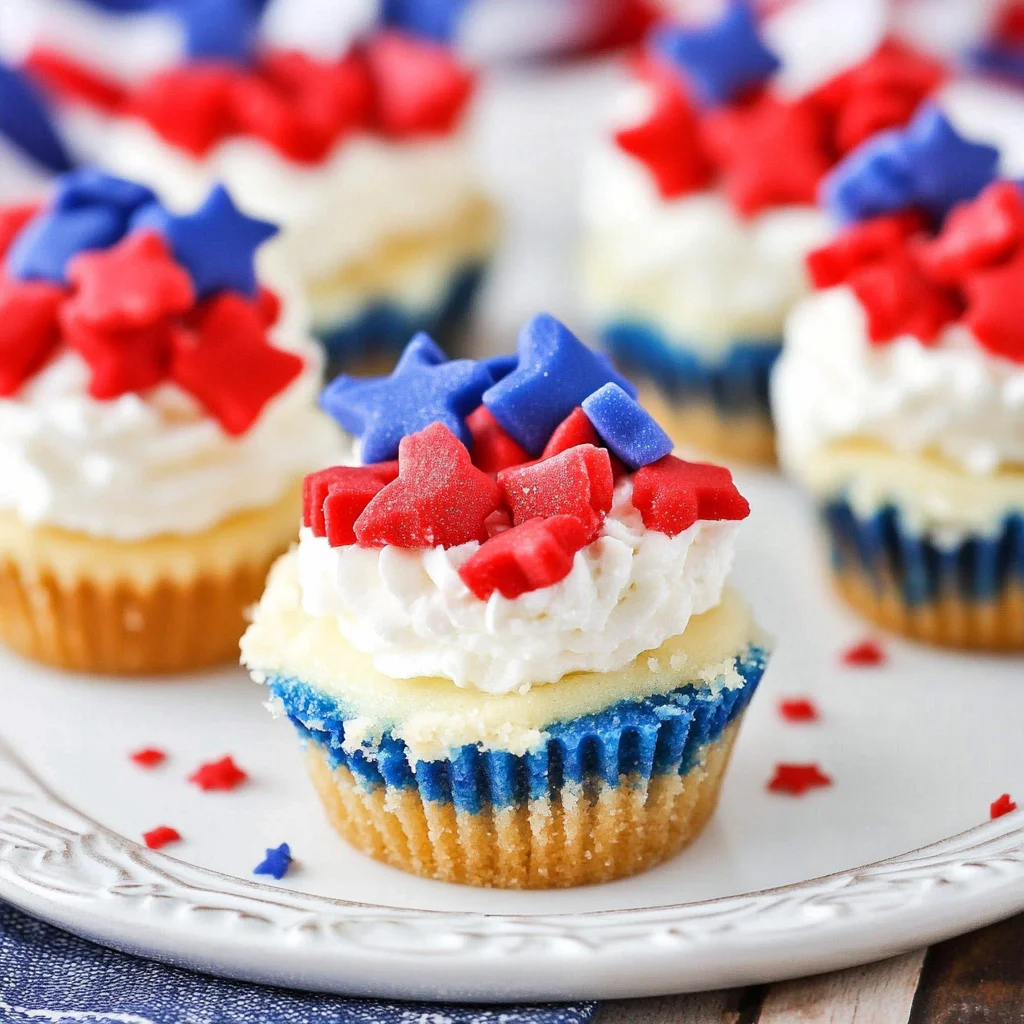
These Red, White and Blue Mini Cheesecakes are a delightful treat perfect for any patriotic celebration! With their creamy texture and vibrant colors, they add a festive touch to your dessert table. Not only are they easy to make, but they also provide a fun way to celebrate holidays like the 4th of July, Memorial Day, or even a summer picnic. Their stunning appearance and delicious flavor will surely impress your guests!
Why You’ll Love This Recipe
- Easy to Make: These mini cheesecakes require simple ingredients and straightforward steps, making them perfect for bakers of all levels.
- Festively Colorful: The red, white, and blue layers create an eye-catching dessert that’s sure to be a hit at any gathering.
- Versatile Dessert: While ideal for patriotic holidays, these mini cheesecakes can be enjoyed year-round for birthdays or casual get-togethers.
- Creamy Texture: The smooth consistency of the cheesecake filling pairs wonderfully with the crunch of the cookie crust.
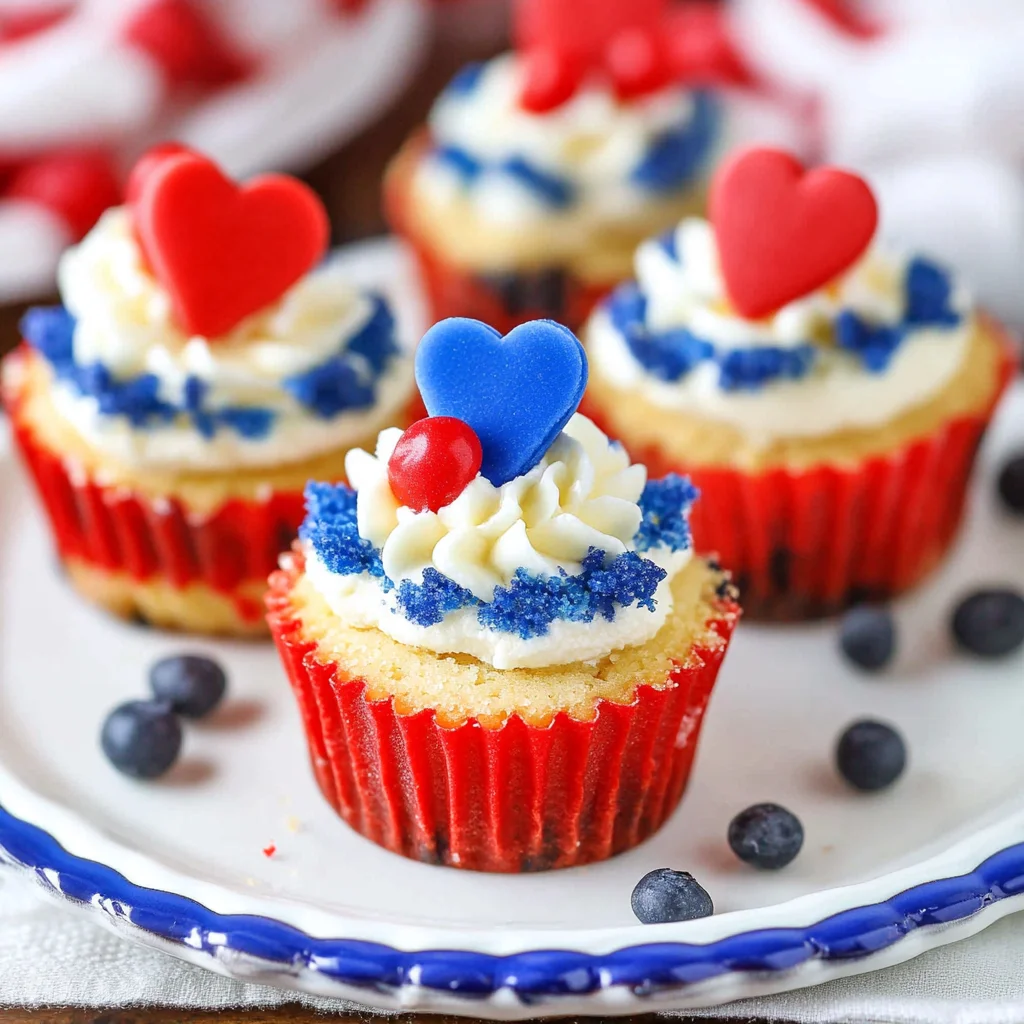
- Customizable Toppings: Feel free to get creative with toppings! Add fresh fruit or your favorite sprinkles for extra flair.
Tools and Preparation
Before diving into this recipe, gather your essential tools. Having everything ready will streamline the process and ensure you don’t miss any steps.
Essential Tools and Equipment
- Cupcake pan
- Cupcake liners
- Mixing bowls
- Electric mixer
- Measuring cups and spoons
- Rubber spatula
Importance of Each Tool
- Cupcake Pan: Essential for shaping the mini cheesecakes perfectly.
- Electric Mixer: Saves time and effort when mixing ingredients to achieve a smooth batter.
- Rubber Spatula: Helps in scraping down the sides of bowls efficiently to ensure all ingredients are well combined.
Ingredients
These Red, White and Blue Mini Cheesecakes are smooth, creamy and easy to make! Perfect for your patriotic celebration!
- 1 cup (134g) vanilla wafer cookie crumbs
- 2 tbsp (26g) sugar
- 4 tbsp (56g) butter, melted
- 12 ounces (339g) cream cheese, room temperature
- 1/2 cup (104g) sugar
- 3 tbsp (24g) flour
- 1/2 cup (115g) sour cream
- 1 1/2 tsp vanilla extract
- 2 eggs
- Blue gel icing color
- Red gel icing color
- 1/2 cup (120ml) heavy whipping cream, cold
- 5 tbsp (36g) powdered sugar
- 1/2 tsp vanilla extract
- Sprinkles
How to Make Red, White and Blue Mini Cheesecakes
Step 1: Preheat the Oven
Preheat your oven to 325°F (162°C). Line your cupcake pan with cupcake liners.
Step 2: Prepare the Crust
Combine the vanilla wafer cookie crumbs, sugar, and melted butter in a bowl.
* Mix until well combined.
* Divide this mixture evenly between the cupcake liners—about 2 tablespoons per cup.
* Press firmly into the bottoms.
Step 3: Bake the Crusts
Bake the crusts in the preheated oven for about 5 minutes. Remove from oven and allow them to cool while you prepare the filling.
Step 4: Make the Filling
Reduce oven temperature to 300°F (148°C). In a large bowl:
* Mix together cream cheese, sugar, and flour using low speed on an electric mixer until combined.
* Scrape down the sides of the bowl as needed.
Step 5: Add Sour Cream and Vanilla
Add sour cream and vanilla extract into the mixture. Beat on low speed until well incorporated.
Step 6: Incorporate Eggs
Add eggs one at a time:
* Beat slowly after each addition.
* Scrape down sides of bowl as needed.
Step 7: Color the Batter
Divide your batter evenly into three separate bowls:
* Leave one bowl plain white.
* Color one bowl red with gel icing color.
* Color another bowl blue with gel icing color.
Step 8: Layer the Colored Batter
Layer colored batter into each crust:
* Start with a tablespoon of white batter in each cup.
* Follow with a tablespoon of red batter.
* Finish with a tablespoon of blue batter until cups are mostly full.
Step 9: Bake the Cheesecakes
Bake cheesecakes for about 18–20 minutes. Once done:
* Turn off oven but leave door closed for an additional 10 minutes.
Step 10: Cool Down
Crack open the oven door slightly:
* Allow cheesecakes to cool for about 15–20 minutes.
* Then transfer them to the fridge to finish cooling completely.
Step 11: Remove from Pan
Once cooled completely, carefully remove cheesecakes from pan.
Step 12: Make Whipped Cream Topping
In a large mixing bowl:
* Add heavy whipping cream, powdered sugar, and vanilla extract.
* Whip on high speed until stiff peaks form.
Step 13: Pipe Topping onto Cheesecakes
Pipe whipped cream onto each cheesecake generously. Top with sprinkles for added decoration!
Step 14: Refrigerate Until Serving
Store cheesecakes in an airtight container in the refrigerator until ready to serve. They are best enjoyed within two to three days.
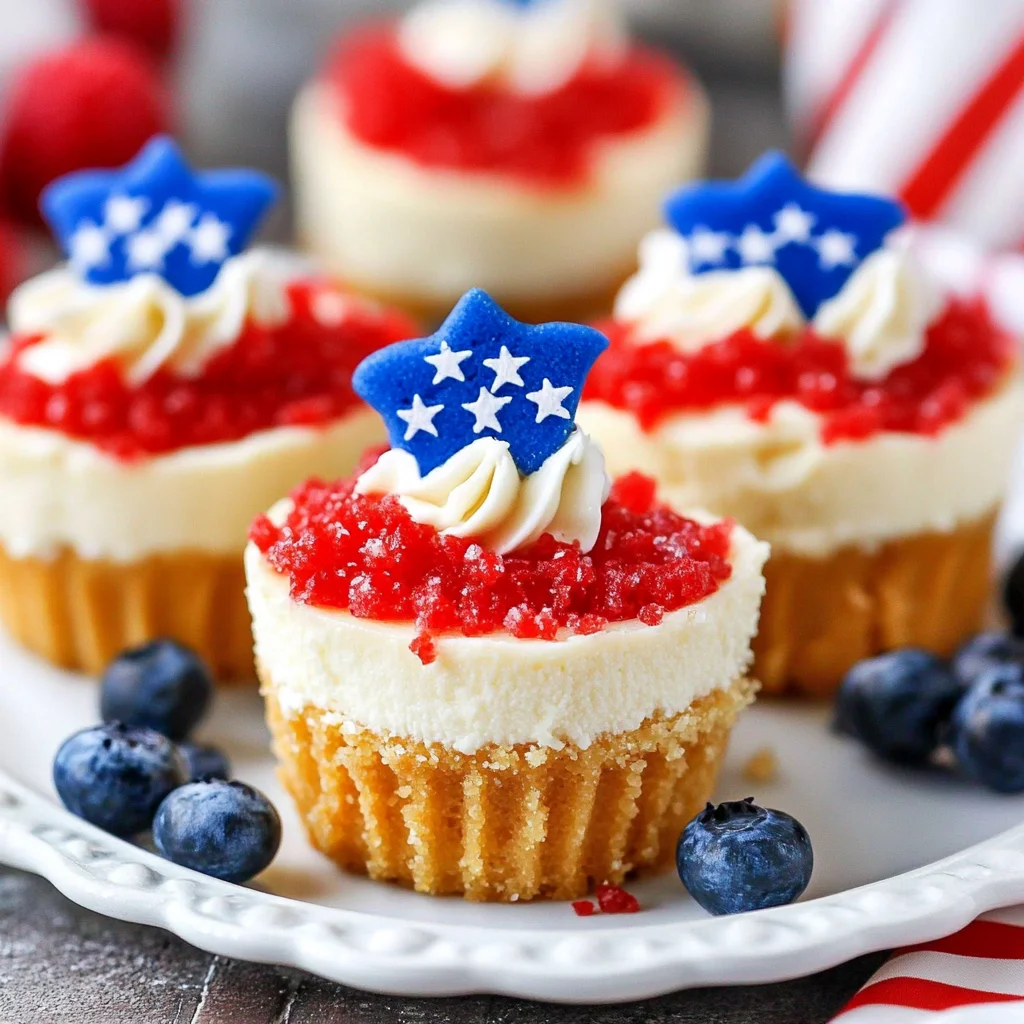
How to Serve Red, White and Blue Mini Cheesecakes
Red, White and Blue Mini Cheesecakes are not only delicious but also visually stunning. Whether you’re celebrating the 4th of July or any patriotic event, serving these mini treats can be a delightful experience. Here are some serving suggestions that will elevate your dessert presentation.
Individual Cups
- Serve each cheesecake in its cupcake liner for a charming touch. This makes it easy for guests to grab one without needing extra plates.
Garnished with Fresh Berries
- Top each cheesecake with fresh strawberries and blueberries. This adds a burst of flavor and enhances the patriotic theme.
Drizzled with Sauce
- A drizzle of raspberry or blueberry sauce can add an extra layer of sweetness and create a beautiful contrast on the plate.
On a Dessert Platter
- Arrange several mini cheesecakes on a decorative platter. This creates an inviting display for parties and gatherings.
With Ice Cream
- Pair each cheesecake with a scoop of vanilla or strawberry ice cream for an indulgent treat that balances creaminess and freshness.
With Whipped Cream Clouds
- Add extra whipped cream to the side of the plate or on top for a fluffy finish that complements the rich flavors of the cheesecakes.
How to Perfect Red, White and Blue Mini Cheesecakes
To achieve the perfect texture and flavor in your Red, White and Blue Mini Cheesecakes, follow these tips. They will help ensure your cheesecakes turn out smooth, creamy, and irresistible.
- Use Room Temperature Ingredients: Make sure your cream cheese and eggs are at room temperature before mixing. This helps create a smoother batter without lumps.
- Mix Gently: When combining ingredients, mix on low speed to avoid incorporating too much air. Excess air can lead to cracks in your cheesecakes as they bake.
- Cool Gradually: After baking, let the cheesecakes cool slowly in the oven with the door ajar. This helps prevent sudden temperature changes that can cause cracking.
- Chill Thoroughly: Refrigerate your mini cheesecakes for at least 4 hours before serving. This allows them to set properly and enhances their flavor.
- Experiment with Colors: For fun variations, try different colors using gel icing color to match any theme or occasion beyond just red, white, and blue.
- Add Flavor Options: Consider adding different extracts (like almond or lemon) to enhance the flavor profile of your cheesecakes while keeping the base recipe intact.
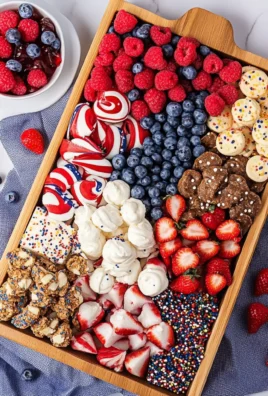
Best Side Dishes for Red, White and Blue Mini Cheesecakes
When serving Red, White and Blue Mini Cheesecakes, complementing them with delicious side dishes can round out your meal perfectly. Here are some great options:
- Fruit Salad
A refreshing mix of seasonal fruits can provide balance to the richness of the cheesecakes. - Patriotic Flag Fruit Platter
Create a flag design with strawberries, blueberries, and banana slices for a festive touch. - Mini Quiches
These savory bites offer a nice contrast to sweet desserts while being easy to eat at gatherings. - Caprese Skewers
Fresh mozzarella balls, basil leaves, and cherry tomatoes drizzled with balsamic glaze provide a light appetizer option. - Veggie Tray
A colorful assortment of fresh vegetables served with dip adds crunch and freshness alongside your desserts. - Cheese Board
Offer an array of cheeses paired with crackers and nuts; this variety makes for an excellent snack before indulging in dessert. - Grilled Corn on the Cob
Sweet corn brushed with butter brings summer vibes that pair well with celebratory meals featuring mini cheesecakes. - Lemonade or Iced Tea
Refreshing beverages like lemonade or iced tea offer a cooling contrast to rich desserts while keeping guests hydrated during festivities.
Common Mistakes to Avoid
When making Red, White and Blue Mini Cheesecakes, it’s easy to make a few common mistakes that could affect your results. Here are some tips to help you avoid them:
- Overmixing the batter: This can introduce too much air, leading to cracks in your cheesecakes. Mix until just combined for a smoother texture.
- Skipping the cooling step: Allowing the cheesecakes to cool gradually in the oven prevents sudden temperature changes that can cause cracks. Be patient; it’s worth it!
- Not using room temperature ingredients: Cold cream cheese and eggs can lead to lumps in your batter. Always let them sit out for about 30 minutes before mixing.
- Ignoring baking times: Each oven is different. Check your cheesecakes a few minutes before the suggested time; they should be set but still slightly jiggly in the center.
- Using low-quality gel colors: Cheap gel colors may not provide vibrant hues for your layers. Invest in good-quality gel colors for a visually appealing dessert.
Storage & Reheating Instructions
Refrigerator Storage
- Store in an airtight container to maintain freshness.
- Best consumed within 2-3 days, but they can last up to a week if properly stored.
Freezing Red, White and Blue Mini Cheesecakes
- Wrap each cheesecake in plastic wrap or aluminum foil before placing them in a freezer-safe container.
- They can be frozen for up to 2 months. Thaw them in the refrigerator when ready to enjoy.
Reheating Red, White and Blue Mini Cheesecakes
- Oven: Preheat to 350°F (175°C) and heat for about 10 minutes, covered with foil to prevent drying out.
- Microwave: Use short bursts of 15-20 seconds on low power, checking frequently so they don’t get too warm.
- Stovetop: This method isn’t recommended as it may alter the texture of the cheesecakes.
Frequently Asked Questions
How do I achieve vibrant colors for my Red, White and Blue Mini Cheesecakes?
To get bright colors, use high-quality gel food coloring instead of liquid dye. Start with a small amount and add more until you reach your desired shade.
Can I customize the flavors of these mini cheesecakes?
Absolutely! You can mix in different extracts like almond or lemon for unique flavors while keeping the base recipe intact.
What should I do if my mini cheesecakes crack?
If cracks appear, keep your oven door closed during cooling and make sure you’re mixing on low speed. A water bath can also help create steam and prevent cracks during baking.
How long do Red, White and Blue Mini Cheesecakes last?
These delightful treats are best enjoyed within 2-3 days when stored properly in an airtight container in the fridge.
Can I make these mini cheesecakes ahead of time?
Yes! These cheesecakes are perfect for prepping ahead. You can make them a day or two before serving and store them in the refrigerator.
Final Thoughts
Red, White and Blue Mini Cheesecakes are not only visually stunning but also deliciously creamy and rich. They’re perfect for any patriotic celebration or summer gathering. Feel free to customize them with different colors or toppings to suit your taste. Whether you’re serving them at a party or enjoying them at home, these mini desserts are sure to impress!
Red, White and Blue Mini Cheesecakes

Enjoy a burst of flavor and festive spirit with these Red, White and Blue Mini Cheesecakes! Ideal for patriotic celebrations like the 4th of July or Memorial Day, these delightful treats feature luscious layers of creamy cheesecake in vibrant red, white, and blue hues. Easy to make and visually stunning, they are sure to impress your guests while adding a whimsical touch to your dessert table. Whether served at a summer picnic or a family gathering, each mini cheesecake is a perfect bite of indulgence that balances rich creaminess with a satisfying cookie crust. Get ready to wow everyone with this charming dessert that embodies holiday cheer!
- Prep Time: 15 minutes
- Cook Time: 25 minutes
- Total Time: 40 minutes
- Yield: Makes approximately 12 mini cheesecakes 1x
- Category: Dessert
- Method: Baking
- Cuisine: American
Ingredients
- 1 cup vanilla wafer cookie crumbs
- 2 tbsp sugar
- 4 tbsp butter, melted
- 12 ounces cream cheese, room temperature
- 1/2 cup sugar
- 3 tbsp flour
- 1/2 cup sour cream
- 1 1/2 tsp vanilla extract
- 2 eggs
- Red and blue gel icing color
- 1/2 cup heavy whipping cream, cold
- 5 tbsp powdered sugar
Instructions
- Preheat the oven to 325°F (162°C) and line a cupcake pan with cupcake liners.
- In a bowl, combine the cookie crumbs, sugar, and melted butter; mix well. Divide evenly among liners and press into bottoms.
- Bake crusts for about 5 minutes; let cool.
- Reduce oven temperature to 300°F (148°C). In a large bowl, beat cream cheese, sugar, and flour until smooth.
- Mix in sour cream and vanilla until combined; add eggs one at a time.
- Divide batter into three bowls: color one red, one blue, and leave one white.
- Layer batters in crusts: white on bottom, followed by red then blue.
- Bake for 18–20 minutes; cool gradually in the oven with the door slightly open.
- Once cooled completely, whip heavy cream with powdered sugar and vanilla; pipe onto cheesecakes.
Nutrition
- Serving Size: 1 cheesecake (60g)
- Calories: 152
- Sugar: 10g
- Sodium: 175mg
- Fat: 10g
- Saturated Fat: 6g
- Unsaturated Fat: 3g
- Trans Fat: 0g
- Carbohydrates: 14g
- Fiber: <1g
- Protein: 2g
- Cholesterol: 50mg
Leave a Comment